The Photopia Blog
Tips, tutorials & inspiration for making slideshows
APRIL 9, By Photopia
Hidden Gems
Have you ever felt like there are features that you need help finding? Software programs can’t display all features at once. It would be overwhelming if every feature were always in full view.
In today’s blog, we’ll share four of Photopia’s hidden gems you may not have known existed!
Drag and Drop Layers Between Slides
Streamline your workflow by using the simple drag-and-drop feature. Move layers seamlessly between slides, preserving all assigned attributes, including keyframes.
This technique can be beneficial when trying to ensure that the captions on multiple slides are aligned.
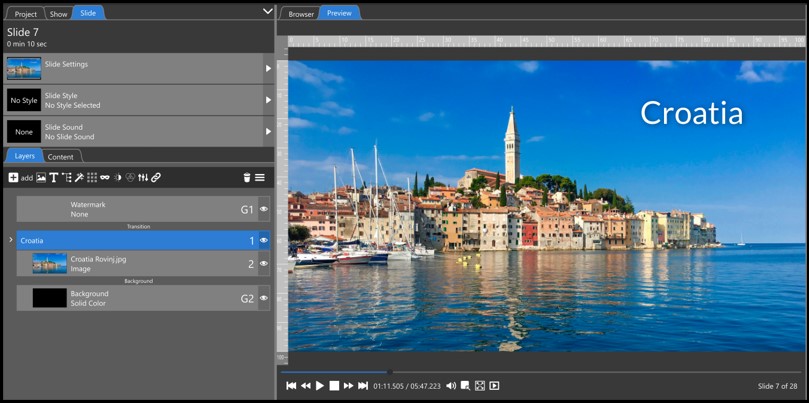
We have already spent time creating the caption on the slide above. We are satisfied with the font, size, position, drop shadow, and fly-in effect. We want the caption to have the same appearance for the next slide but display different text.
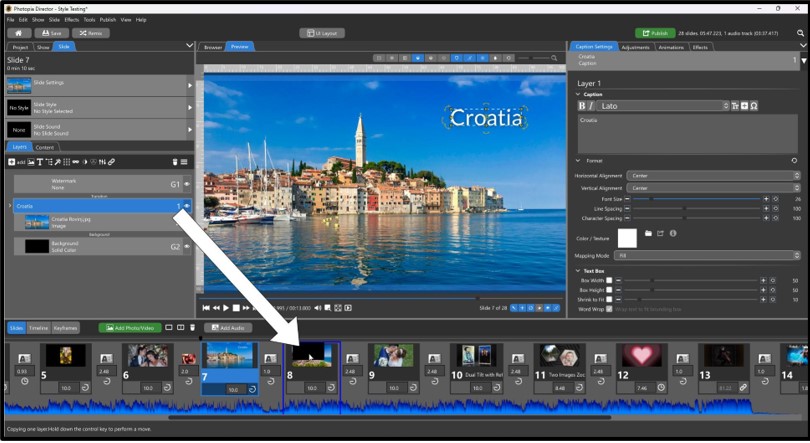
To copy this layer and its attributes, drag and drop it onto any slide.
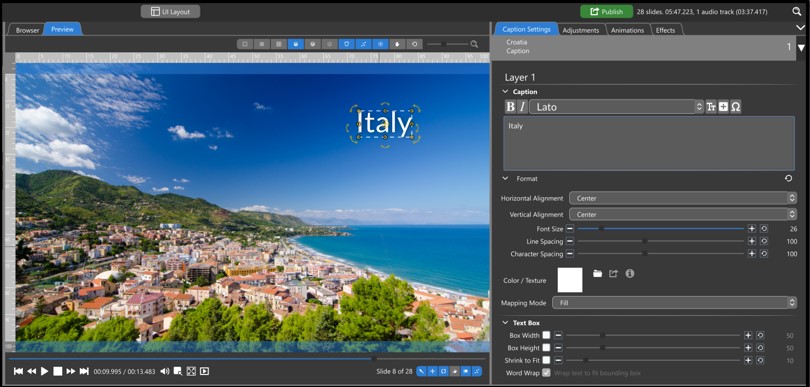
Now, instead of starting with a new caption and trying to set up all of the attributes again, we only need to change the text.
Apply Random Transitions of Your Choice to Multiple Slides
There are many hidden gems under the right click. One of those gems is the Randomize transition effects. This feature allows you to choose and apply randomized transitions to multiple slides.
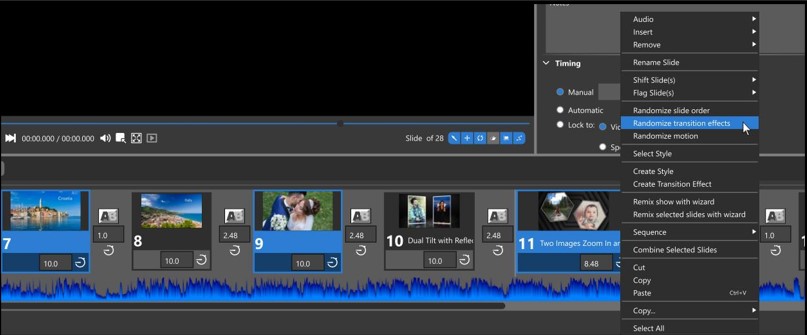
First, select the slides you would like to add transitions to. Hold down the SHIFT key to select adjacent slides or the CTL key to select non-consecutive slides. Then, right-click anywhere in the slide list and choose Randomize transition effects.
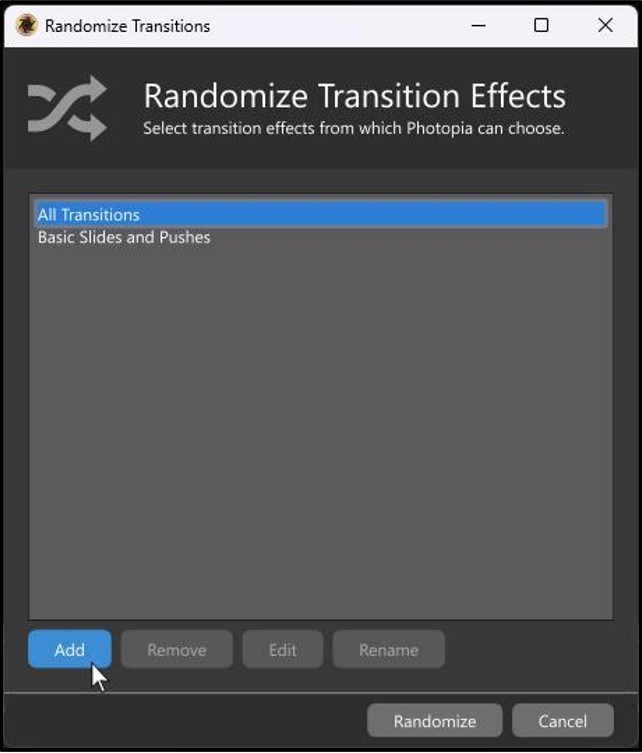
If this is the first time you have created a new Transition Set, the All Transitions set will be the only set available in the window. In our example, we want Photopia to randomly apply all the Flash Card 3D transitions to the selected slides. To create a custom transition set, click on the Add button at the bottom of this window.
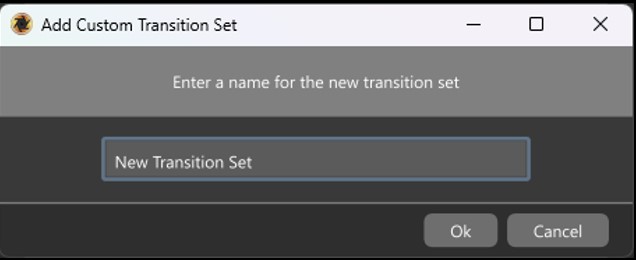
Enter the name of your new set in the next window and click OK.
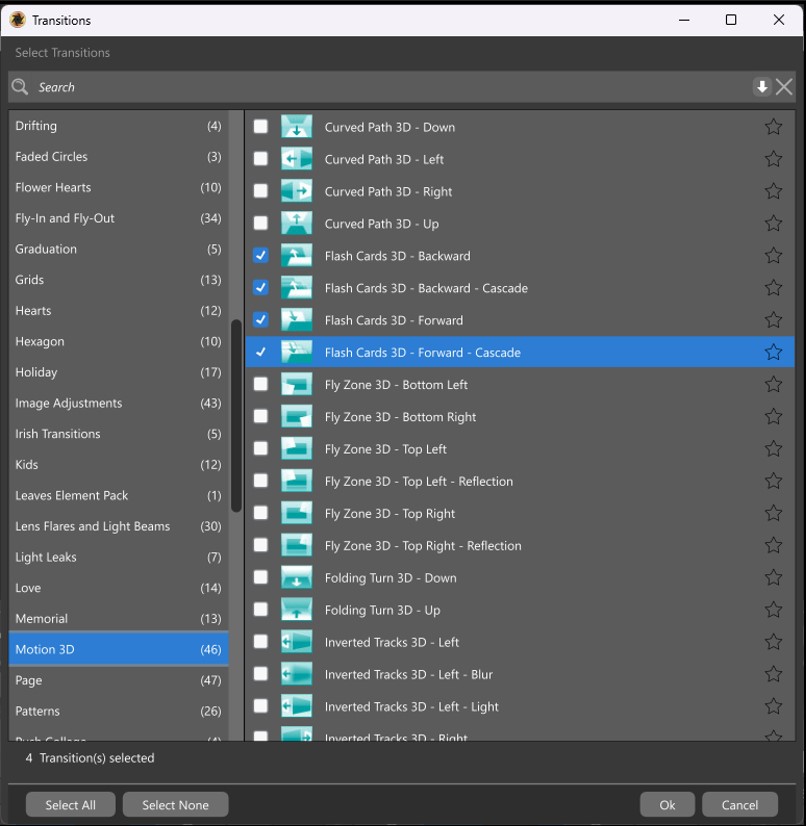
In the next window, select all transitions you want to be included in this transition set. We selected all of the Flash Card 3D transitions. When you have them all selected, hit OK.
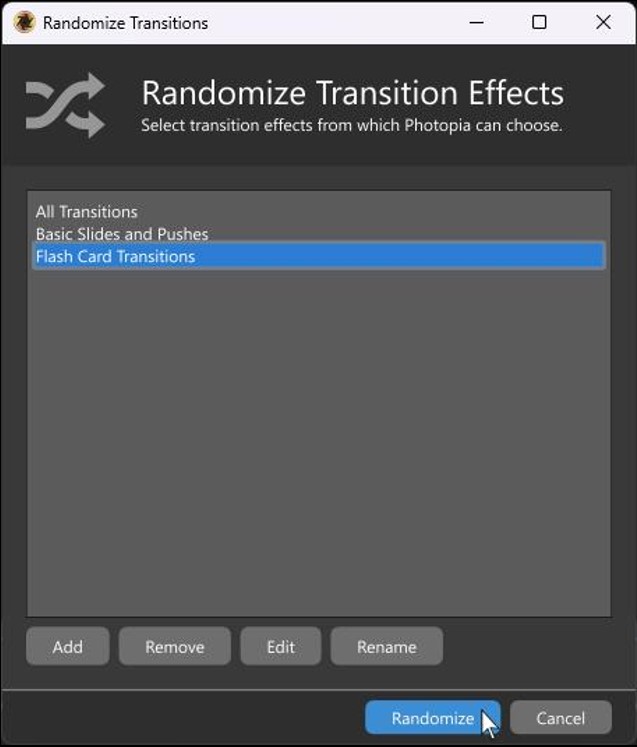
Once the set is created, click Randomize. The transitions in your new set will then be applied randomly to your selected slides.
Go to Slide to Find Duplicates
Sometimes, a show may have hundreds of photos, but you only want to display each photo once.

Looking at your browser, you notice that one of the images has a number greater than one next to it, indicating that it appears in multiple slides. These numbers do not include duplicates within the same slide. Scanning more than 100 slides to identify these duplicates would be time-consuming and unnecessary.
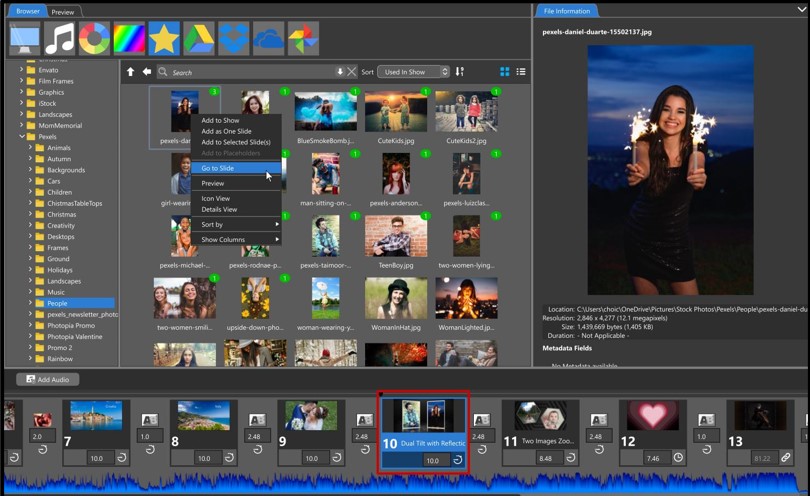
Begin by selecting the first slide in the slide list. Next, right-click on the image in the browser and choose Go to Slide. This will select the next slide that includes that image.
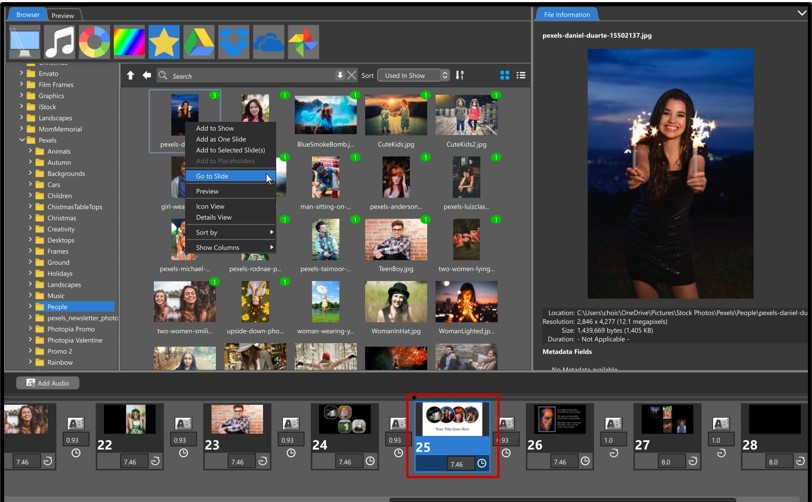
Selecting Go to Slide again will advance the slide list to the next slide with that image. Repeat as many times as needed to find all the slides that include that image.
Magnify
The Photopia User Interface offers different options for adjusting and customizing its size. For example, users can increase the UI size through the Preference settings to enhance the readability of the text. However, enlarging the entire interface reduces the slides and preview window space, which can be inconvenient. A helpful feature called the Magnifier can enlarge specific interface sections without affecting the entire screen.
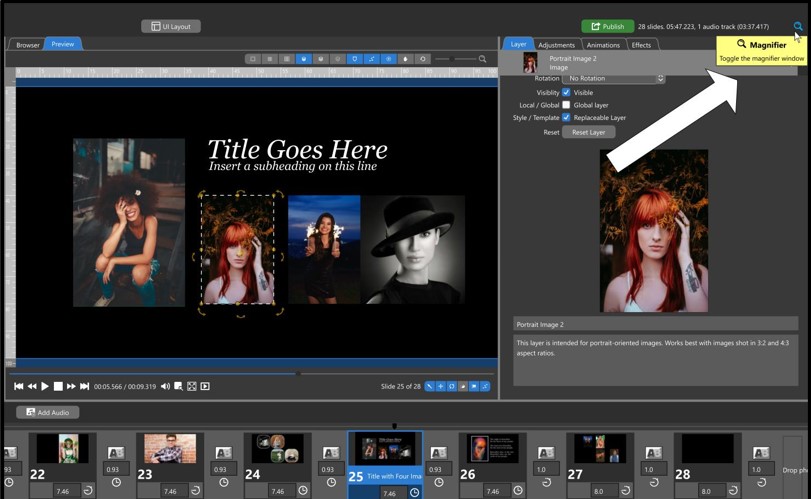
You’ll find a small magnifying glass in the upper right-hand corner of the screen. Click on that icon to activate the Magnifier.
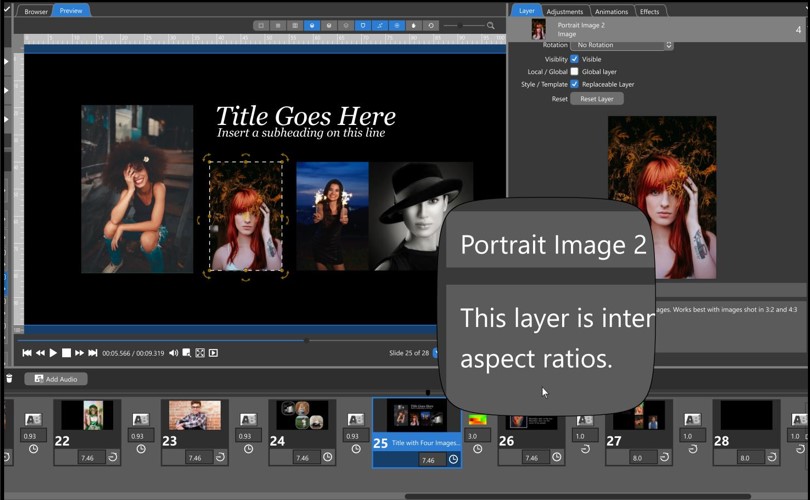
The Magnifier will be attached to your mouse, magnifying anywhere on your screen you move your mouse. To release the magnifier, hit the Escape key.


