The Photopia Blog
Tips, tutorials & inspiration for making slideshows
SEPTEMBER 19, By Photopia
Create Rising Balloons using Bezier Handles
Today’s blog is a step by step guide for creating rising balloons using Bezier Handles. This type of practice will increase your understanding of the concept of curved paths and your skills in the tools used to create them.
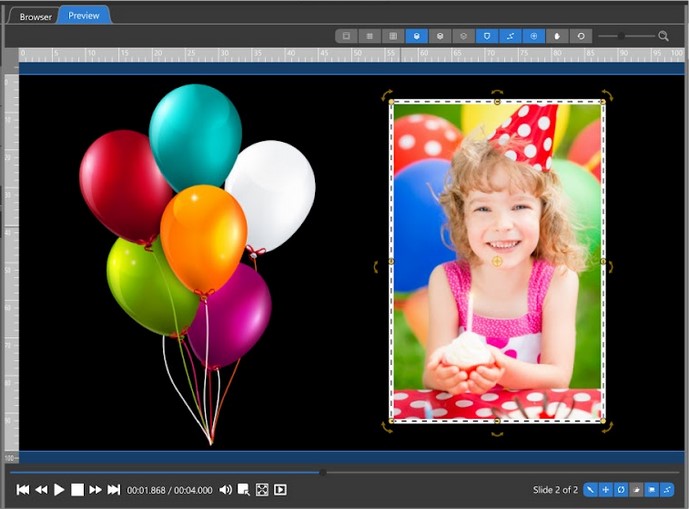
Download this free Balloon PNG image to use in this lesson here – Free download Balloon Heart . – CleanPNG
Add both the Balloon PNG and an image of your choice to a slide. Resize and position them as shown above. This should be done in either the Layer or Adjustments tabs to avoid creating keyframes.
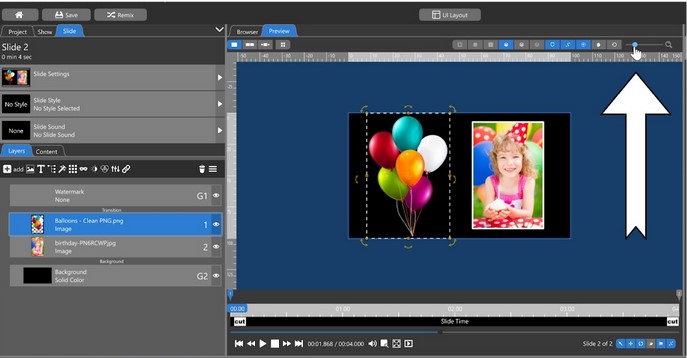
Select the Balloon Layer and go into the Animations tab. Since this image layer will be completely off screen for both keyframes, zoom the canvas out using the slider bar shown above in order to see the space around the video preview area.
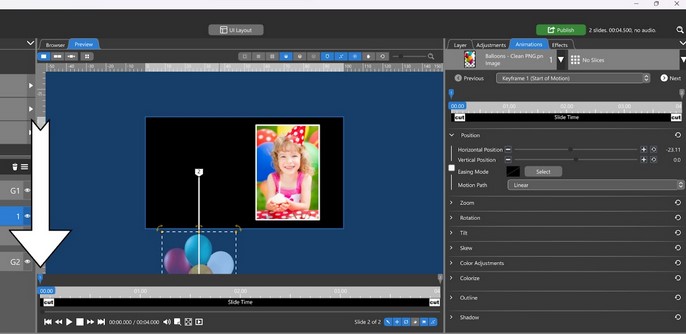
Select the 1st keyframe of the Balloon layer and position it below the video preview area. This can be done by either clicking and dragging in the preview window or by entering a positive number for the Vertical position.
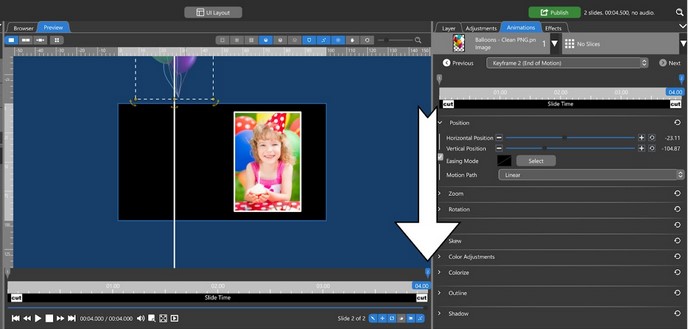
Select the 2nd keyframe and position the balloon image above the video preview area.

Select the 1st keyframe again and use the dropdown menu next to Motion Path to choose Bezier. The Motion Path tool must be enabled. This tool is on the far right of the tool bar in the lower right corner of the preview window.
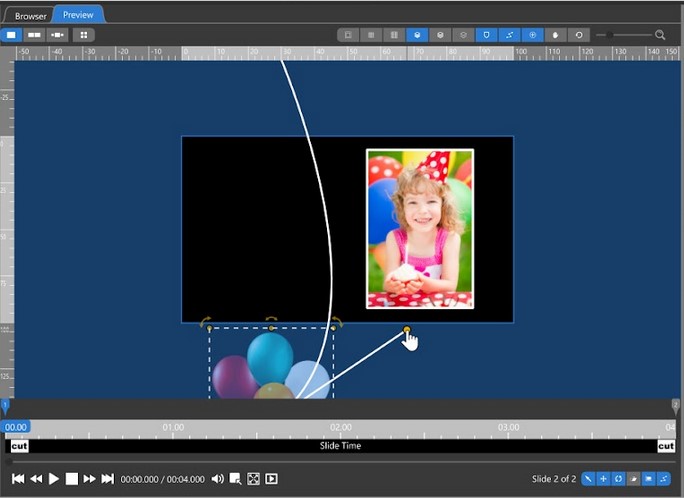
Find the yellow Bezier handle on the 1st Keyframe Path and click and drag it to move it out. Stretch the handle to create a nice curve.
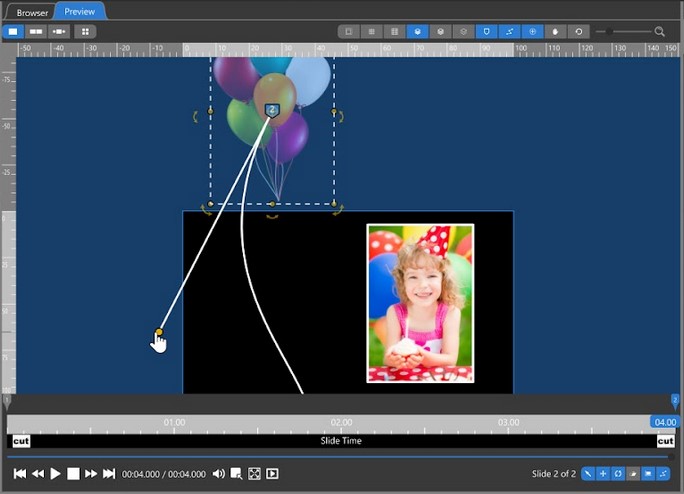
Repeat that step for the Bezier handle on the 2nd Keyframe. This handle may be sitting directly in the center of the keyframe icon.

Adjust the handles in any direction, to any length, to create a curve that you like.
Play back your slide and see your balloons wobble as they rise!


