The Photopia Blog
Tips, tutorials & inspiration for making slideshows
NOVEMBER 12, By Photopia
Categorizing Effects
With Photopia, you can tailor your Effect Categories to suit your needs.
Learn how to organize your effects by creating custom categories, declutter categories by removing effects from them, and reduce your Categories list by removing categories you don’t need.
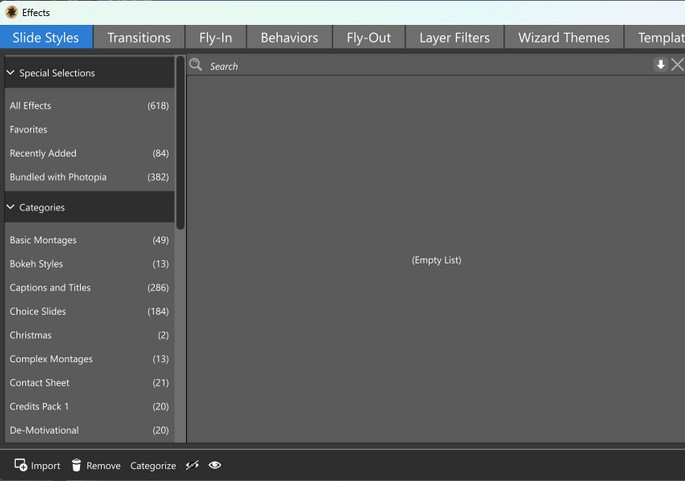
Each effect type, such as Slide Styles, Transitions, and Layer Effects, has its own distinct categories. To organize your effect categories, open the Manage Effects window and select the effect type at the top.
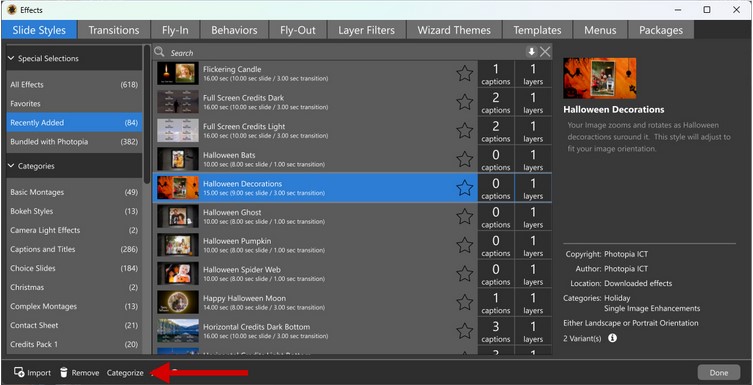
Select an effect from the middle column to categorize, then click “Categorize” at the bottom. In our example, we’ll categorize the “Halloween Decorations” Slide Style.
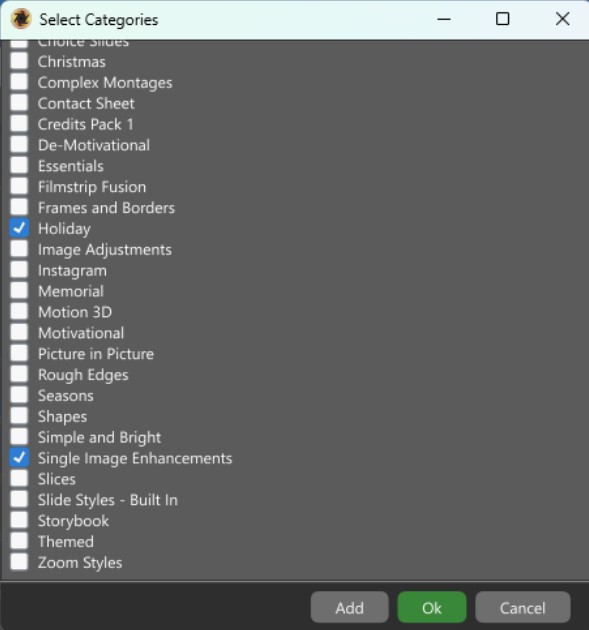
Click the blue check mark to remove a style from a category. Check a category to include the style it is not currently in. We’d like to leave the style in the current categories but add a new “Halloween” category.
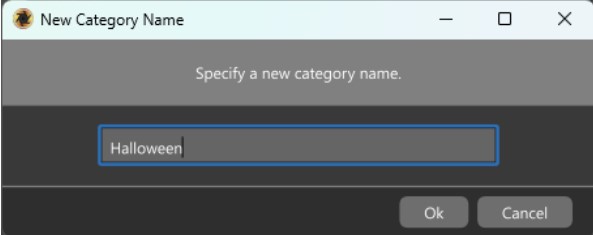
o create a new custom category, click “Add,” then name your new category.
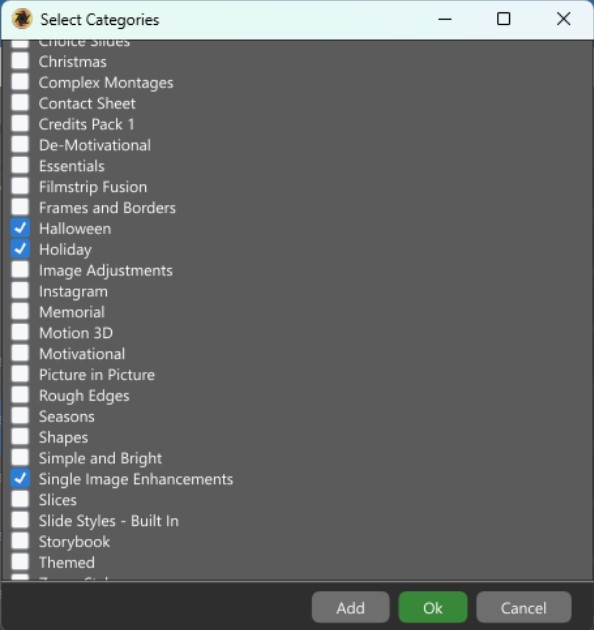
Our new category, “Halloween,” is now listed with this Style checked to be included in that category.
To delete a category, you must first remove all effects associated with that category.
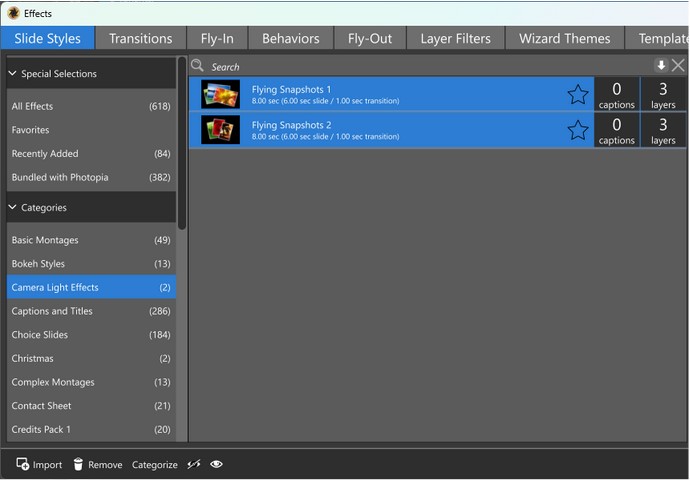
In this example, we want to remove the “Camera Light Effects” category, which contains two styles. We first need to disassociate the styles from that category to delete it. Holding down the Shift key allows you to select multiple effects simultaneously.
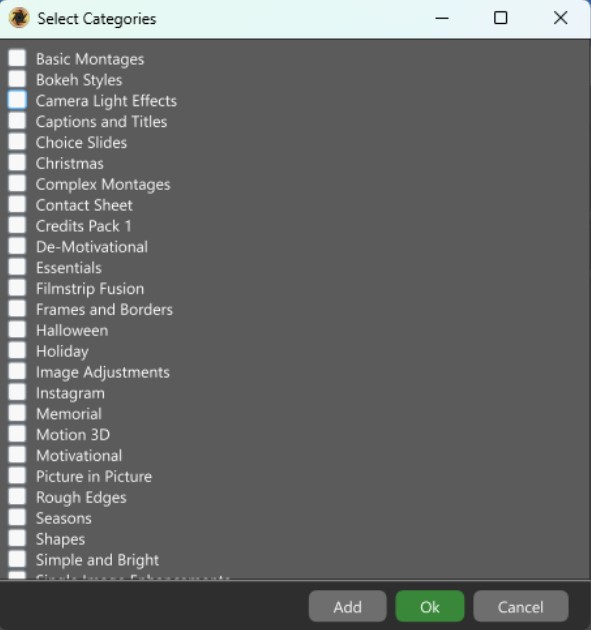
The next step is to uncheck the category you want to remove. In the screenshot above, the “Camera Light Effects” category is unchecked.
When all styles are removed from a category, they will no longer be visible on the list. For example, the “Camera Light Effects” category ceases to exist because it has no assigned styles.


