The Photopia Blog
Tips, tutorials & inspiration for making slideshows
May 24, By Photopia
Multiple fonts in one Caption
Photopia uses a feature called Rich Text that allows you to assign different fonts in a single caption. This is done after the caption is created, so when you add a new caption, simply enter your text, and choose a single font.
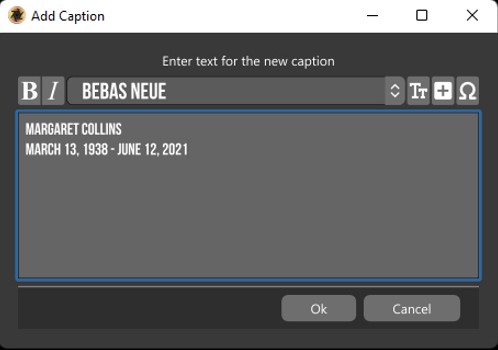
Next, select your text layer and go into the Caption Settings Tab in the Options Panel. Select the words that you’d like to change to a different font, then choose a new font from the drop-down menu. Only the selected words will change to your new font, the other words will remain in the original font.
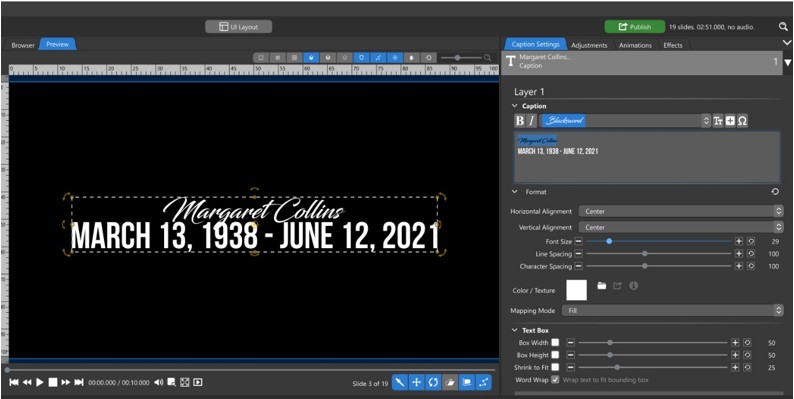
A limitation to this feature is that you can only have multiple fonts, not multiple font sizes. If you are using Creator, choose fonts wisely (script fonts tend to be smaller than blocky fonts).

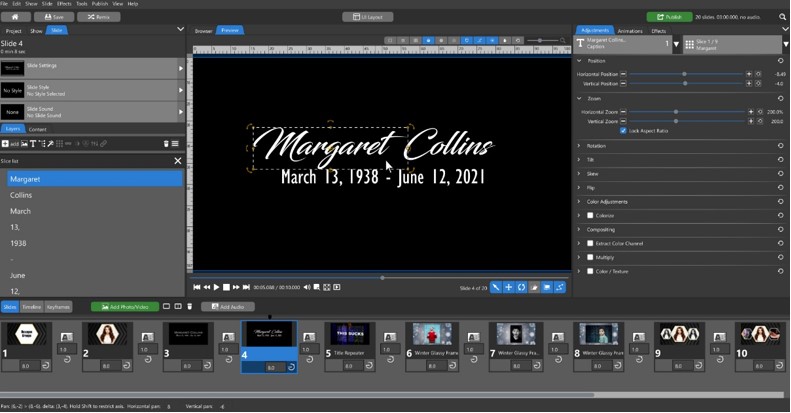
If you are using Director, you can use Word Slices to change the size of the words in different fonts. In the example below, we have a script font for the name and a block font for the dates, but we want the name to be bigger than the dates.
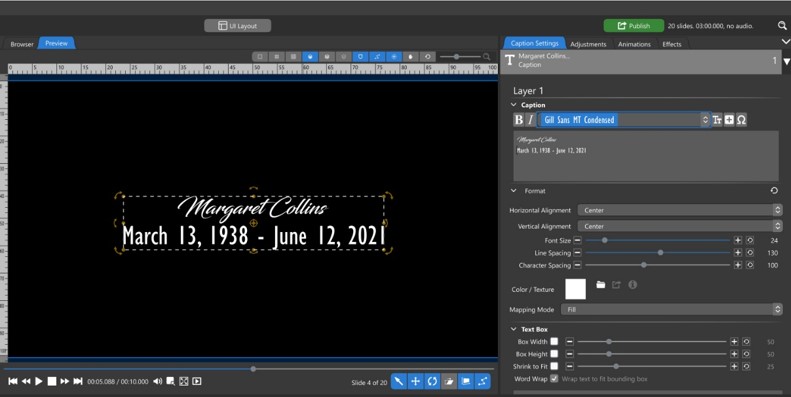
In Director only, click on the arrow directly to the left of your text layer in the Layers Tab to open the Text Slices. Then, click on the Open Slices icon on the far-right side of the Words Slices Layer.
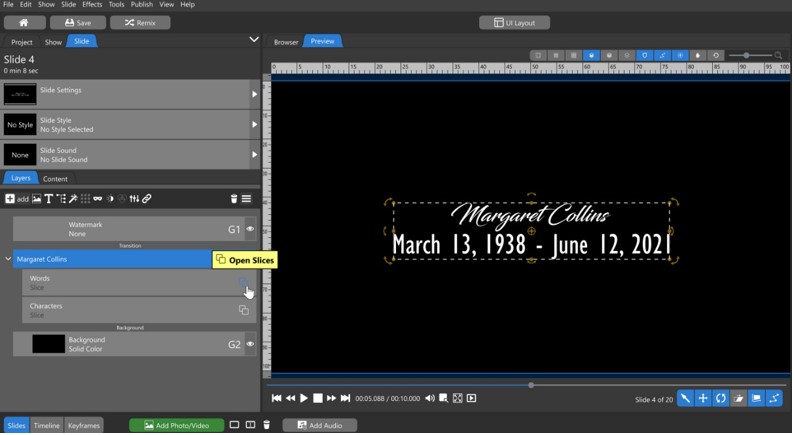
You can now select individual words in your text layer and change their size (Zoom), position, and any other attribute in the same way that you would a layer.
