Tips, tutorials & inspiration for making slideshows
FEBRUARY 7, By Photopia
Transferring Projects and Effects between computers
Your Photopia subscription allows you to install Photopia on two computers, even if they are different operating systems, such as Windows and Mac. This allows you to work on a Project on a home computer, then transfer it to a laptop to work on the go.
Transferring Projects from one computer to another can be done easily using the Export/Import Libraries feature.
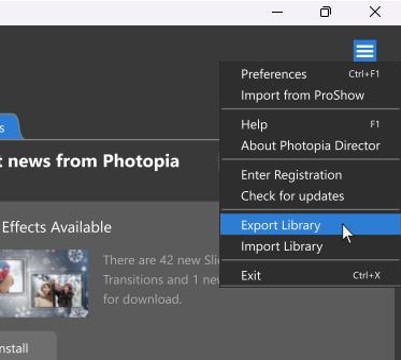
On the Photopia Home Page, select the Export Library option under the Hamburger Menu in the upper right corner.
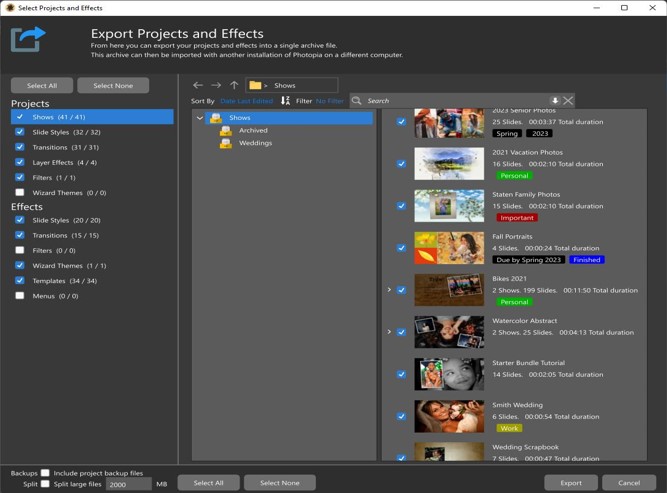
The next window will display a list of Projects and Effects. When a Project Type is selected in the left panel, the right side of the screen will show your Project Groups and individual Projects.
When an Effect Type is selected on the left, Categories and individual effects will be listed on the right. All Effects is the default Category selection. To choose individual effects click the Select None button above the Projects and Effects list, then select individual effects to export. To export all effects in a single category, select the category, then click the Select All button at the bottom of the effect list.
When you are ready to create your Archive file, click the Export button in the lower right corner. Photopia will gather all of the Projects and Effects you selected into a single Archive file (.pmd). This file can be transferred to a second computer using a USB flash drive, over an internet connection, or using a file transfer service.
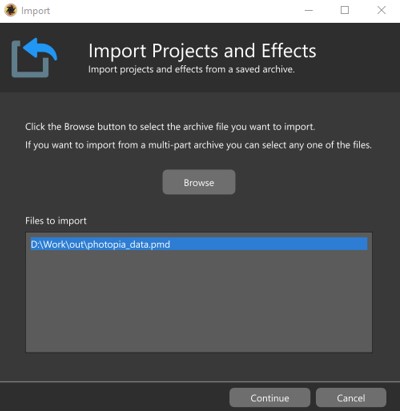
In Photopia on the second computer, select the Import Library option from the same Hamburger Menu on the Home Page. In the next window, click the Browse button to locate the .pmdfile that was transferred from the first computer.
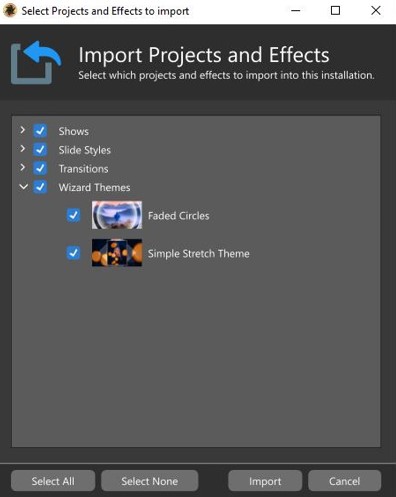
A list of Project and Effect Types from the Archive file is shown in the next window, each containing individual Projects and Effects. Use the check boxes to select entire Categories for import. The same can be done for individual Projects and Effects.
Click the Import button at the bottom of the screen to import the selected files. The Duplicate Files Found window will appear if there are Projects or Effects being imported that have the same name as other Projects or Effects already in Photopia. Check the box next to the Projects and Effects you want to use from the Archive. Checked entries will overwrite what Photopia already has installed. Unchecked entries will not be imported. Once the import process is complete, your Projects will be available on the Home Page and your Effects will be available in the Manage Effects Window.